Introduction
The rendering engine of UC-win/Road was improved in Ver.11, and the expression
of shadow and brightness of the sky became enriched. The lake function
now allows users to create more real lakes that depict the reflection on
the water surface. Here, we introduce a variety of functions applying the
enhanced lake and smoke functions.
Lake setting
The updated rendering engine has expanded the expression of water surface. To depict the water surface, create a "lake" in the "plan view" first. If "Shoreline" is checked in the "Visual Options", the "Shoreline editor" is displayed when you click the water surface.
Two kinds of display modes (Shaded and Texture)
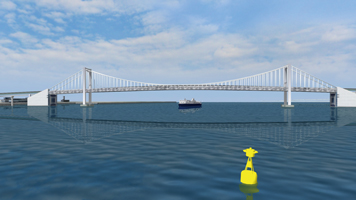
When the new function Shaded is selected in the Shoreline Editor, the surrounding
landscapes reflected and light reflection on the water surface are automatically
calculated, and various ripples can be displayed. By using this mode, you
can change the impression of water surface according to place and situation.
For example, river flow, spring, and the sea surface under the windy weather
and calm weather can be expressed. In this topic, we render the sea surface
near a harbor in the Shaded mode first.
 |
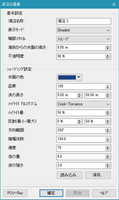 |
| Fig. 1 Sea surface in the Shaded mode and its setting |
|
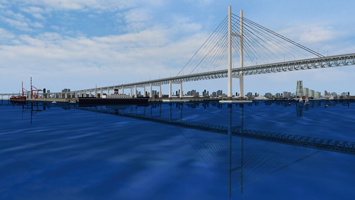
The existing setting by image texture (Texture mode) is available in addition
to the Shaded mode.
 |
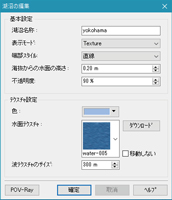 |
| Fig. 2 Sea surface in the Texture mode |
|
Wave movement by wind can be rendered in the both display modes. In the
Texture mode, the movement of patterns on the water surface are constant,
and the scenery reflected on the water surface does not move. On the other
hand, in the Shaded mode, the complex orientation of waves can be rendered,
and the reflected landscape moves together with the wave. Night views are
displayed brighter in the Texture mode than in the Shaded mode. You can
configure lakes one by one.
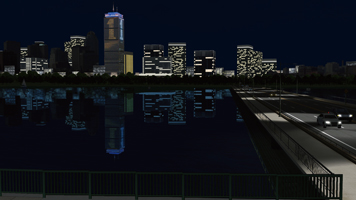 |
| Fig. 3 Water surface at night in the Texture mode |
Setting in the Shaded mode
Now, let's see the settings in the Shaded mode. To express the realistic
sea, select blue color and use the wave moving towards the same direction.
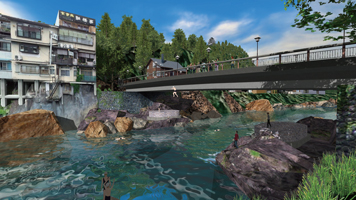
On the other hand, when you want to depict the river in the mountain, green
color is suitable and the wave length should be shorter than that of the
sea. Increasing the value of direction range makes the aspect of waves
complex, and larger amplitude factor and larger foam amount emphasize the
movement of water. Please utilize these settings to depict the fast-flowing
dynamic river.
 |
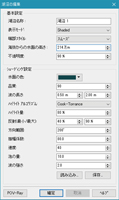 |
| Fig.4 River in the mountain and the setting of its water surface |
|
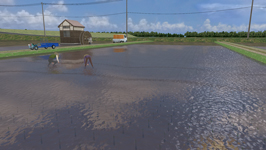
The orientation of the sunshine is also important for the expression of
white waves on the water surface. The appearance of wave changes according
to the time and the camera position even in the same lake settings, and
this gives an entirely different impression.
 |
 |
 |
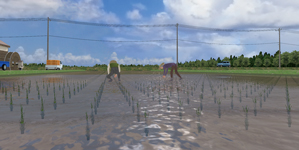
| Fig.5 Rice fields and edit screen |
|
|
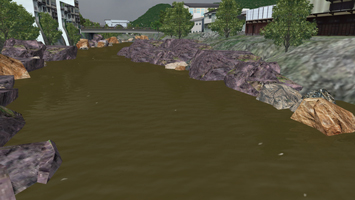
The next example is the muddy stream. Select brown color for the water
color and 100% for the opacity to emphasis the turbid water. In the wave
length, enter a little larger value than that of fresh stream in order
to depict the dirty image. The value of direction range should be smaller
than that of clear river to show the high speed of flow in the constant
direction.
 |
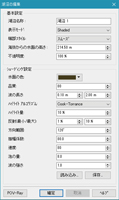 |
| Fig.6 Muddy stream and its setting |
|
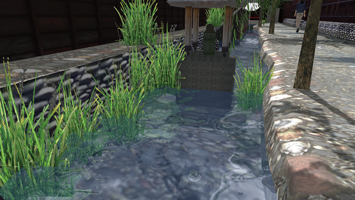
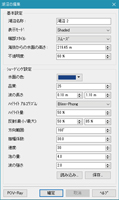
To render a stream having clear water, select blue color for the color
of the water surface and 60% for the opacity. The bottom of the stream
can be seen, and it expresses the image of the limpid water. The short
wave length generates the glimmer on the water surface. To express the
calm flow, enter small value in the amplitude factor. Increase the direction
range to depict various flows.
 |
 |
| Fig.7 Transparent stream and its setting |
|
Utilization of smoke
In the UC-win/Road, "Smoke" is depicted by particles (gathering
of micro particles). This can be applied to some other expressions.
Application to fog
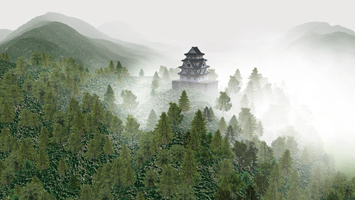
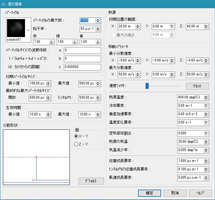
Here, we create a sky castle covered with fog by applying the smoke function. First, use the "fog" in the visual option to overlay the fog over the background mountains. Then, arrange "smoke" around the castle. The "smoke" can be selected and arranged on the terrain from the "Fire/Smoke" in the library panel. Click on the smoke you set and go to "Fire/Smoke" - "Advanced". Increase the maximum number of particles, initial and final particle size, and life time. The smoke does not go up but spreads horizontally if you set the wide initial position range and the slow moving speed. By placing more than one "smoke" like this, it will look like a fog.
 |
 |
| Fig.8 Fog by using "smoke" and its setting |
|
Waterfall
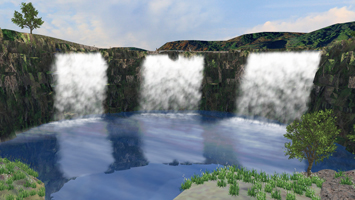
Waterfalls can be expressed by applying "Smoke". Increase the
max number and the size of particles and expand the width of the initial
position (width between X-Y or Z-Y). Then, enter the negative values in
the vertical acceleration and Y value meaning the height direction of the
movement parameter. The smoke moves downwards. Set the "smoke"
over the waterfall basin to express the splash of water.
 |
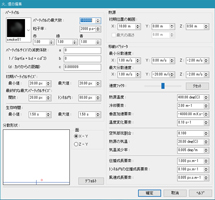 |
| Fig.9 Waterfall by using "smoke" and its setting |
|
Fountain
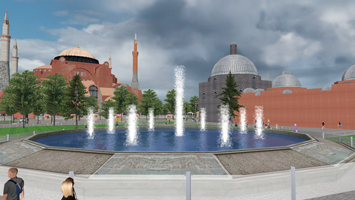
The next try is the creation of fountain. Decrease the particle size of
"smoke" and the range of the initial position to express the
blowout hole. The positive Y value in the movement parameter and the negative
value in the vertical acceleration can display the water blowing out and
then falling due to the gravity. Create ripples on the surface of pond
by using the lake function.
 |
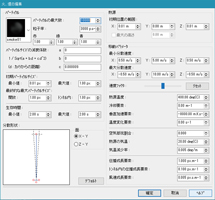 |
| Fig. 10 Fountain by using "smoke" and its setting |
|
Other application
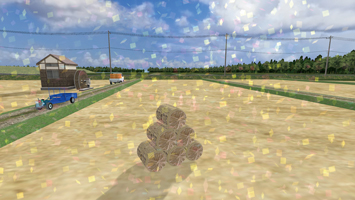
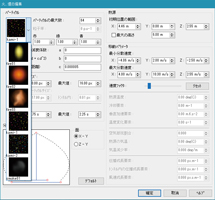
Selecting images other than smoke as the particle texture can express the
fluttering of various things. The following example is the expression of
confetti.
 |
 |
| Fig.11 Confetti by using "smoke" and its setting |
|
Conclusion
The lake settings and the applications of smoke can be checked by downloading
the sample data from the RoadDB. With internet connection, please go to
"File" - "New Project" - "Download" - the
menu on the left - "Blog of city and construction" - "Oita
Bungo-ohno". You can confirm the operation of lake and fire and edit
the settings of them used in that data. |

