Introduction
In this topic, we will explain about the shade, shadow, and lighting settings.
In UC-win/Road Ver.11, shadow visualizing has become faster and its quality
has been improved. The shadow function is now available for real-time simulations
like a drive simulation, and a stereoscopic effect and a sense of immersion
improved greatly. The sharpness, feathering, and faraway shadow setting
allows users to create a variety of shadows including one in cloudy weather.
Shadow setting
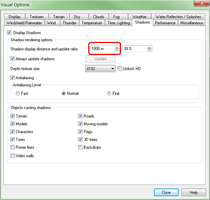
First of all, go to "Home" menu - "Visual Options"
- "Shadows" tab, and put a check in "Display Shadows".
When "Environment" in "Home" menu is clicked, shadows
whiffle like 3D tree leaves. In the "Shadows" tab, select "Objects
casting shadows" items.
 |
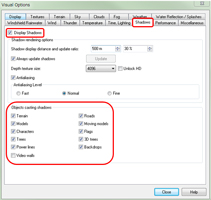 |
| Fig.1 "Environment", "Visual Options" and "Shadow"
setting |
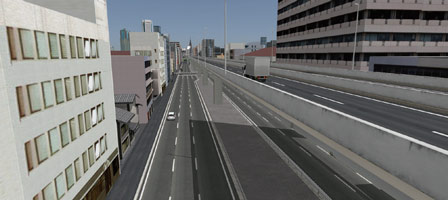
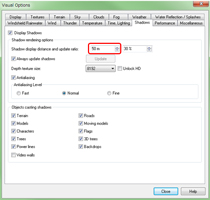
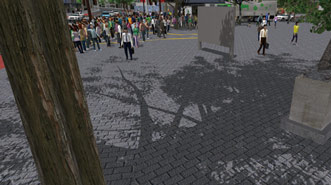
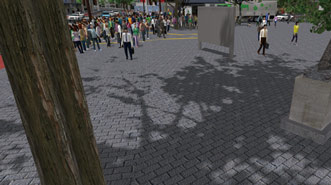
The display distance of shadow changes the range of shadows. Shadows are
displayed sharply in small range and displayed indistinctly in wide range.
The distance of shadow display should be selected depending on the purpose.
For example, set the long shadow display distance for a shadow simulation
that requires continuous shadows. The shorter the shadow display distance
is, the sharper shadows will be displayed.
 |
 |
| Fig.2 Shadow display distance: 50m |
 |
 |
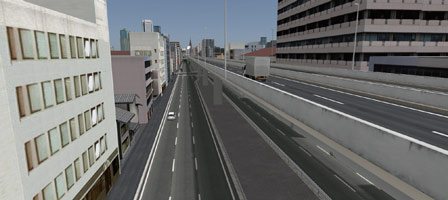
| Fig.3 Shadow display distance: 1000m |
 |
 |
| Fig.4 Shadow display distance: (left 50m, right 300m) |
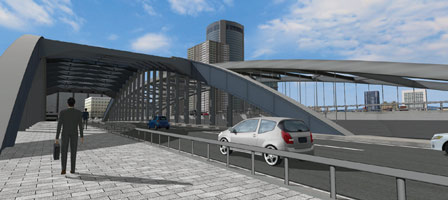
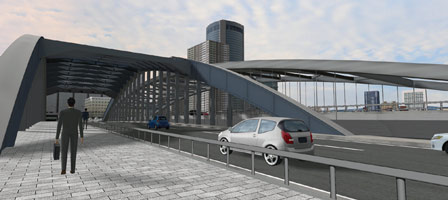
The depth texture size affects the vividness of shadows. When the depth
size is large, the shadow is clearly displayed, and when it is small, the
shadow becomes blurred. Increase the depth size to depict a sunny weather
with sunshine, and use a small depth size to create soft clouds with blurry
contour. Please note that a large depth size consumes a lot of memory.
 |
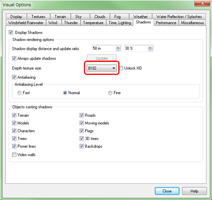 |
| Fig.5 Shadows in sunny weather. Depth texture size: 8192 |
 |
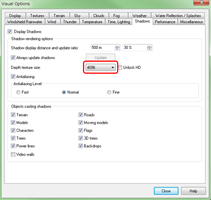 |
| Fig.6 Shadows in cloudy weather. Depth texture size: 4096 |
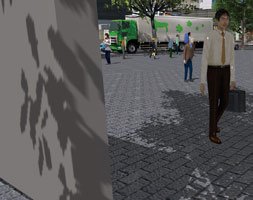
The smoothness of shadow edge changes according to the shadow antialiasing
setting. When the antialiasing is valid, shadows are displayed with smooth
edge.
 |
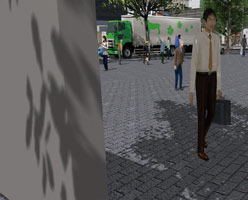 |
| Fig.7 Shadows of sunshine through a 3D tree (left: without antialiasing
/ right: with antialiasing |
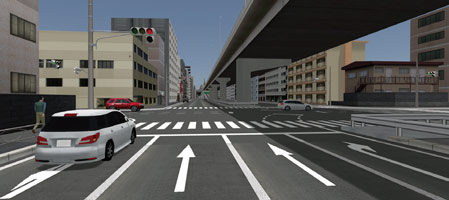
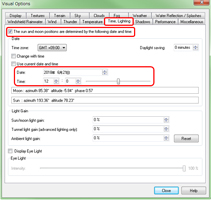
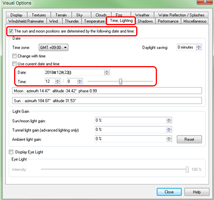
"Time, Lighting" setting
Time setting is reflected to the shadow display when "The sun and
moon positions are determined by the following date and time" is checked
in "Home" menu - "Visual Options" - "Time, Lighting"
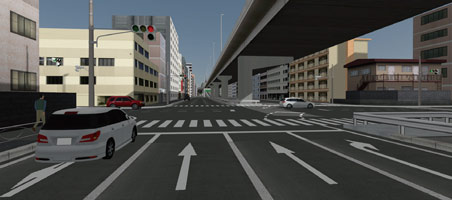
tab. This function is useful for checking influences of shadow in different
position, season, and time.
 |
 |
| Fig.8 Shadows on the summer solstice |
 |
 |
| Fig.9 Shadows on the winter solstice |
Users can change the contrast by setting "Ambient light gain"
to lighten a dark area in shadow or enhance a light part.
A feeling of the season can be expressed by adjusting the ambient light
and sunshine. For example, users can express a scenery of summer day by
using a negative ambient light and increasing the sunlight.
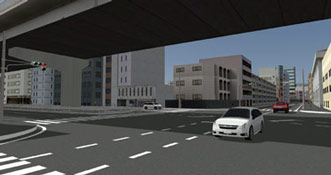 |
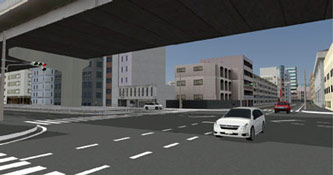 |
| Fig.10 Ambient light gain: 0% |
Fig.11 Ambient light gain: 20% |
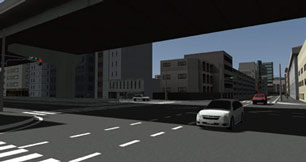 |
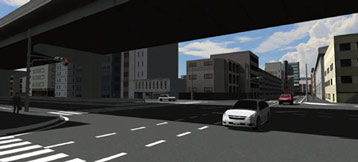 |
| Fig.12 Ambient light gain: -20% |
Fig.13 Ambient light gain: -20%, Sun light gain: 100%, Sky: SkyDome |
The eye light function adjusts the sharpness and brightness of indoor scenery
and night view.
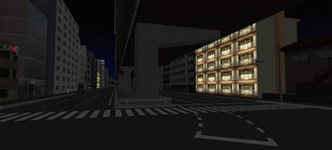 |
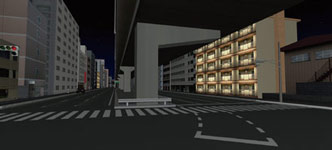 |
| Fig.14 Eye Light: 0% |
Fig.15 Eye Light: 30% |
Conclusion
"Shadows" and "Light Gain" functions enhanced the expression of shading and shadow. These visual options are available in UC-win/Road Standard version or higher versions. We hope you utilize these functions for a variety of VR expressions. |

